This is the ultimate multifunction keyer for:
The beginner who wants to learn, train and decode CW due to build in CW trainer and decoder and all is displayed on the keyer.
The intermediate CW user who want a CW keyer that works with the computer, have a built in fully functional decoder and a keyboard port for use instead of the CW keyer.
The advanced CW user that wants a keyer with direct keyboard access and which function automatic with his contest programs on his PC.
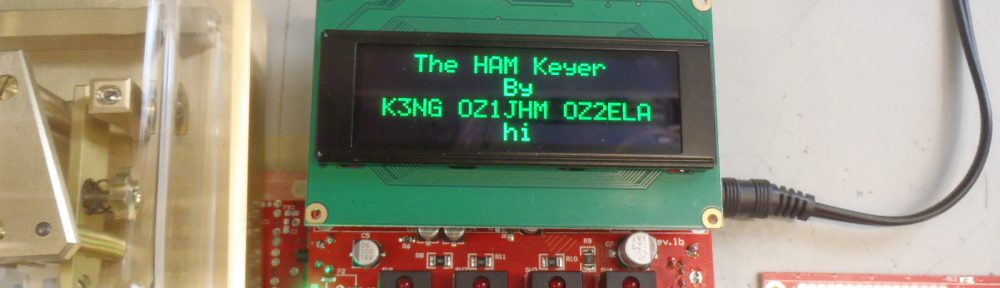
The Ham Keyer is a multi mode CW keyer and decoder build on the K3NG platform and enhanced by OZ1JHM and OZ2ELA for further multifunction modes.
The keyer is build on one PCB which connect to an Arduino “Meduinio” mega 2560 and a 4×20 OLED display.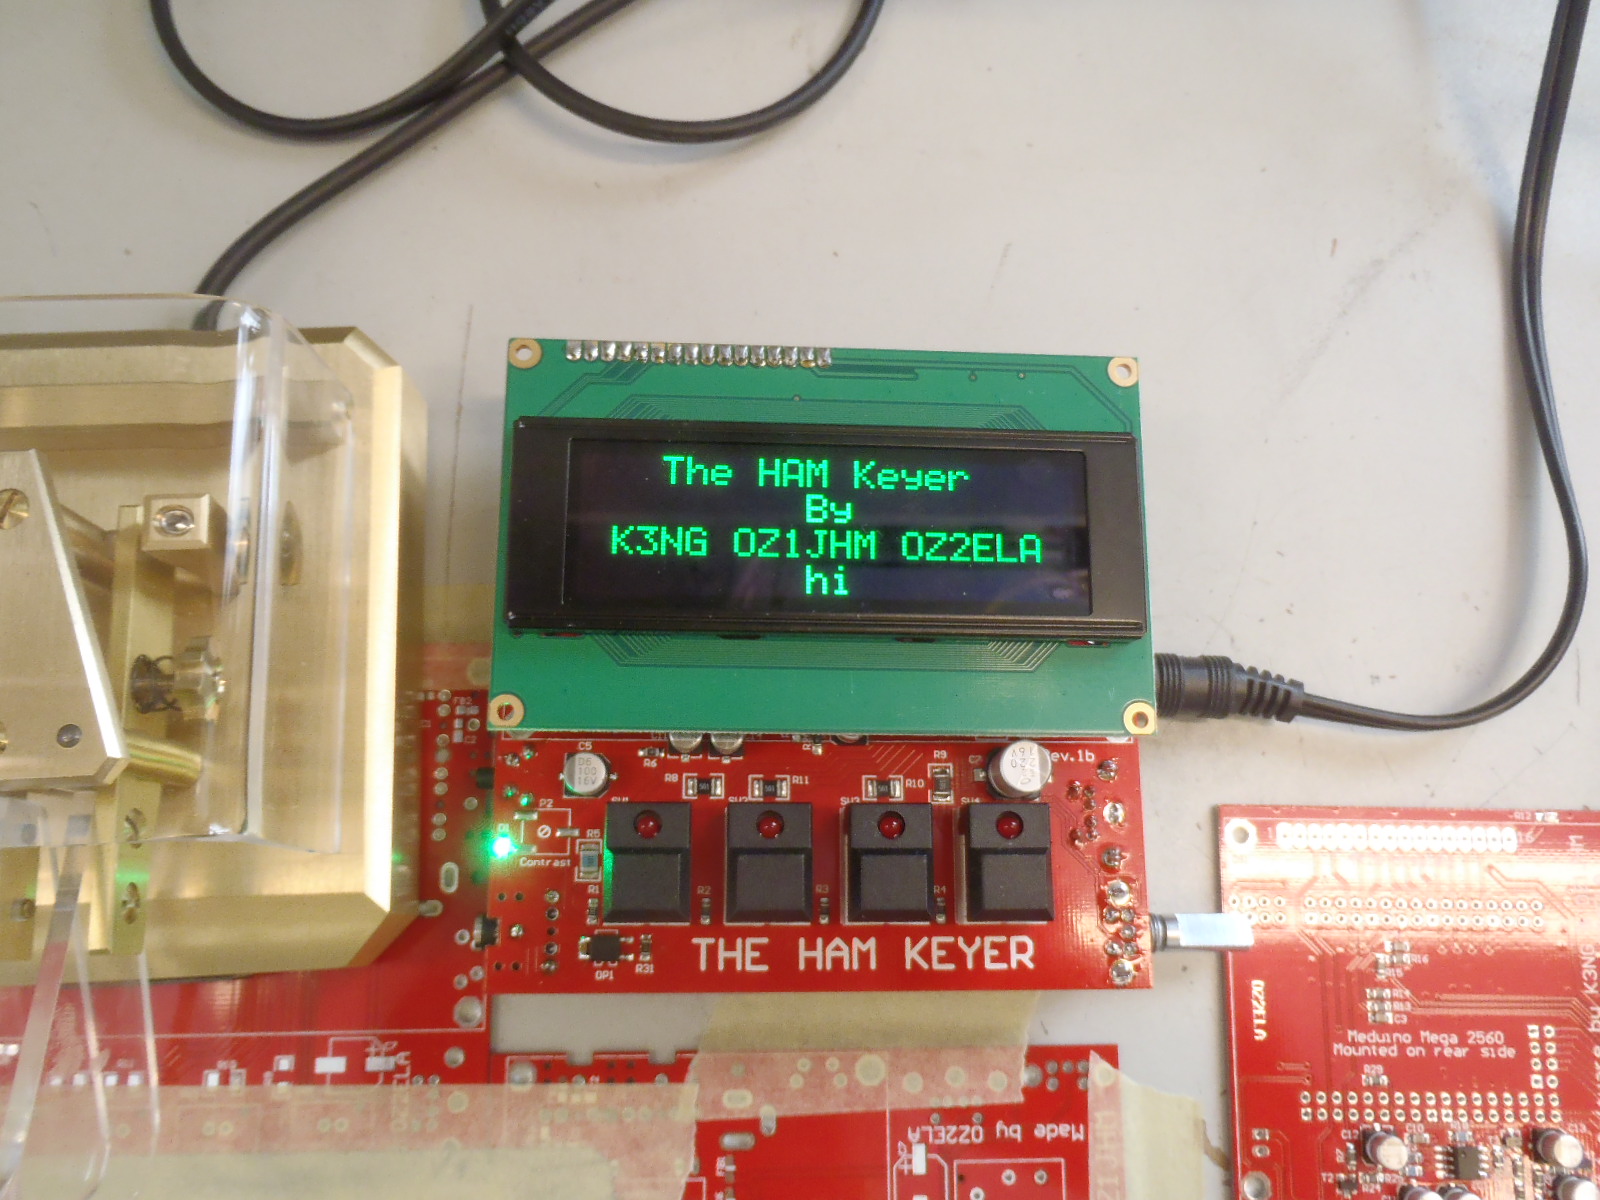
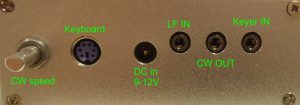
Inputs:
There are input for keyer (paddle etc.), PS2 keyboard , LF from your rig to the decoder AGC controlled unit on the PCB and power supply.
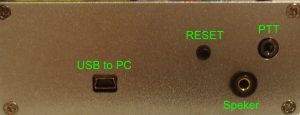
Outputs:
There are isolated outputs to station PTT, CW TX signal and a speaker output.
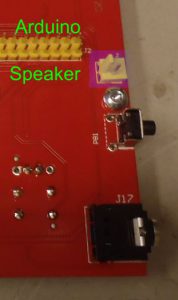
The PCB seen from top side.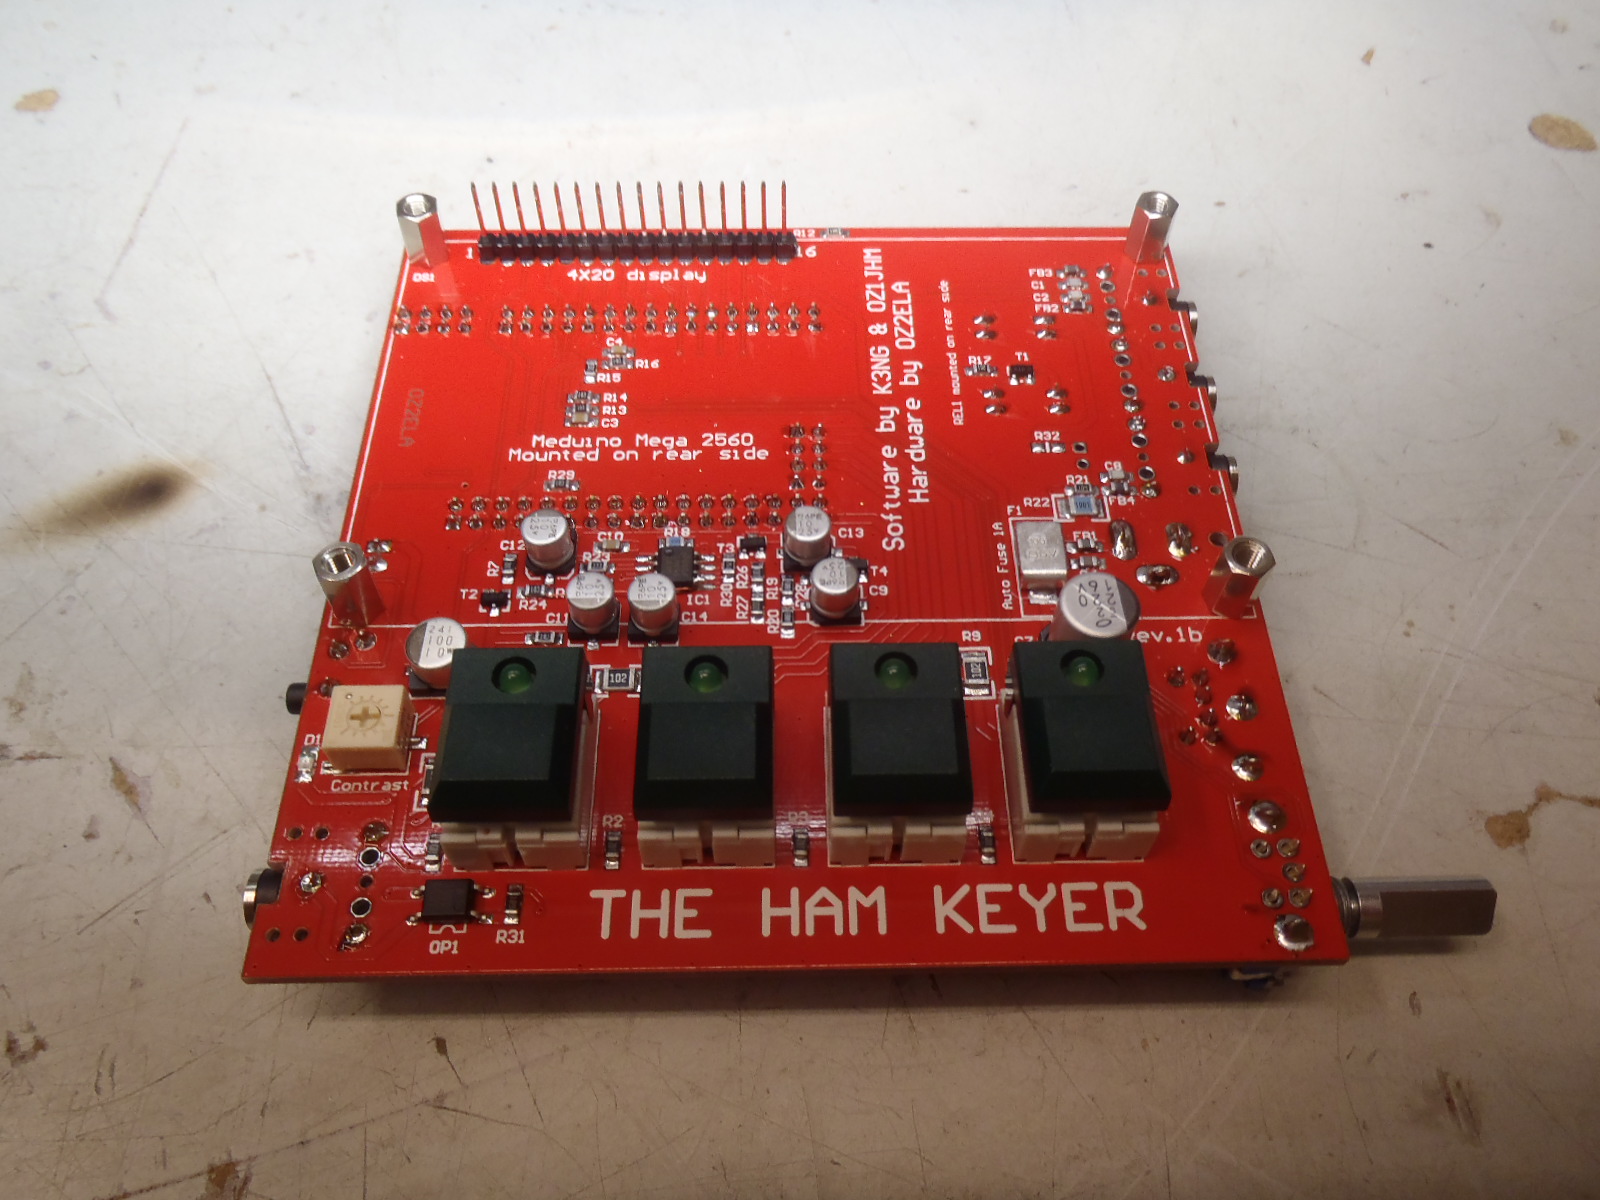
The PCB seen from bottom side with out the Meduino mounted.
Connections:
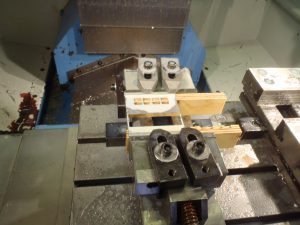
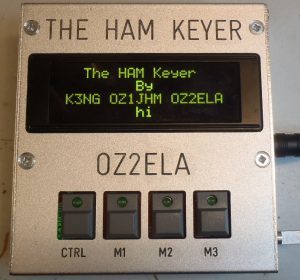
Boxes are being made.
Functions of the keyer:
Press the CTRL switch so the led in the switch is on and the display print “Command Mode”.
Then morse the chosen letter from the list below to gain the functionality for that letter.
Then pres the CTRL switch Again (the led is now off) and the keyer is now programmed with the selected choice.
A – Switch to Iambic A mode
B – Switch to Iambic B mode
C – Switch to Single Paddle mode
D – Switch to Ultimatic mode
E – Announce the speed in WPM
F – Adjust sidetone frequency
G – Switch to bug mode
I – TX enable / disable
J – Dah to dit ratio adjust
N – Toggle paddle reverse
O – Toggle sidetone on / off
P# – Program a memory
S – Alphabet Send Practice
T – Tune mode
V – Toggle potentiometer active / inactive
W – Change speed
X – Exit command mode (you can also press the command button (CTRL) to exit)
Z – Autospace On/Off
# – Play a memory without transmitting
RESET:
To reset the keyer to standard settings switch the power off to the keyer.
Then press both paddles at the same time when powering op the unit.
Using the Keyer:
When using the keyer with a CW key or paddle it will write in the display what you are writing with the CW key, when you stop writing the system will go into decode mode and write the decoded signal in the display.
If the keyer meets a code that does not exist it will make a * in the display.
Tuning the Decoder unit:
If you want to use the decoder functionality you need a LF speaker signal from the radio to the LF input on the keyer.
You need to tune the transceiver CW tone to 577 Hz this is done by changing the receiving frequency on the VFO on the radio until the LED on the M2 button is blinking or constant on, when this is achieved the decoder is ready to decode the signal.
The decoder needs one dot and one dash from the signal to find the speed and then it starts to decode.
The decoder can not decode a signal with constant varying speed or if there is no space between the letters.
How to program memory banks using the HAM Keyer only:
Press the CTRL button once and Command mode will be displayed in the display, then press the M1 button and use your morse key to enter the CW you want in memory 1, when finished press the CTRL button once and the keyer will morse what you just have entered in memory 1, then again press the CTRL button once to get out of Control mode.
You have now programmed memory bank 1, use the same procedure to program the other memory banks.
How to use the memory banks using the HAM Keyer only:
Press the desired memory button and the keyer will morse the content saved in that memory bank.
How to program the memories from a terminal program:
To program memory 3 with CQ CQ CQ DE yourcall, the command would be \p3CQ CQ CQ DE yourcall, to playback from memory 3 the command is \3.
You have a total of 12 memory banks.
How to program the memories from the PS2 keyboard:
Press shift and the F7 then write the message you want in memory 7 and end by pressing the enter button, do the same for the other 11 memory banks.
To read from a memory using the keyboard pres the F1..F12 button of your choice for the memory you want to play.
For repeating the memory press Alt+F1…F12.
You have a total of 12 memories, F1 to F12.
Commands from the PS2 Keyboard:
F1 through F12 – play memories 1 through 12
Up Arrow – Increase CW Speed 1 WPM
Down Arrow – Decrease CW Speed 1 WPM
Page Up – Increase sidetone frequency
Page Down – Decrease sidetone frequency
Right Arrow – Dah to Dit Ratio increase
Left Arrow – Dah to Dit Ratio decrease
Home – reset Dah to Dit Ratio to default
Tab – pause sending
Delete – delete the last character in the buffer
Esc – stop sending and clear the buffer
Scroll Lock – Merge the next two characters to form a prosign
Shift – Scroll Lock – toggle PTT line
CTRL-A – Iambic A Mode
CTRL-B – Iambic B Mode
CTRL-C – Single Paddle Mode
CTRL-D – Ultimatic Mode
CTRL-E – Set Serial Number
CTRL-G – Bug Mode
CTRL-H – Hellschreiber Mode (requires FEATURE_HELL)
CTRL-I – TX Line Disable/Enable
CTRL-M – Set Farnsworth Speed (requires FEATURE_FARNSWORTH)
CTRL-N – Paddle Revers
CTRL-O – Sidetone On/Off
CTRL-T – Tune
CTRL-U – PTT Manual On/Off
CTRL-W – Set WPM
CTRL-Z – Autospace On/Off
SHIFT-F1, F2, F3… – Program memory 1, 2, 3…
ALT-F1, F2, F3… – Repeat memory 1, 2, 3…
CTRL-F1, F2, F3… – Switch to transmitter 1, 2, 3…
More functions can be found here https://blog.radioartisan.com/arduino-cw-keyer/
This we can supply:
PCB: Euro 27
PCB with all SMD components mounted: Euro 71
Kit including all components, OLED display, PCB with all SMD components mounted and pre programmed Arduino Mega 2560 micro size: Euro 200
Box made ready for the kit: Euro 40
Shipping cost depends on your location, we ship Danish postal service or FedEx.
All profit from this project goes to other ham related Projects such as the DAAMS project or to the World’s oldest beacon OZ7IGY
Contact: OZ2ELA at his call dot dk
A special thanks to Frank OZ1FQ for his help developing the box and to Christian OZ1GNN for his continues test and recommendations for the keyer.
This page will be updated frequently so stay tuned